Adding USB-C to a Yoto Player

Edited 5/1/24: I would now purchase this part which streamlines some of the instructions below.

Edited 1/13/25: If the above link isn’t working – you’re looking for a “USB C Power Connector Female Charging Port Panel Mount JST Plastic Jack Cable” like this 

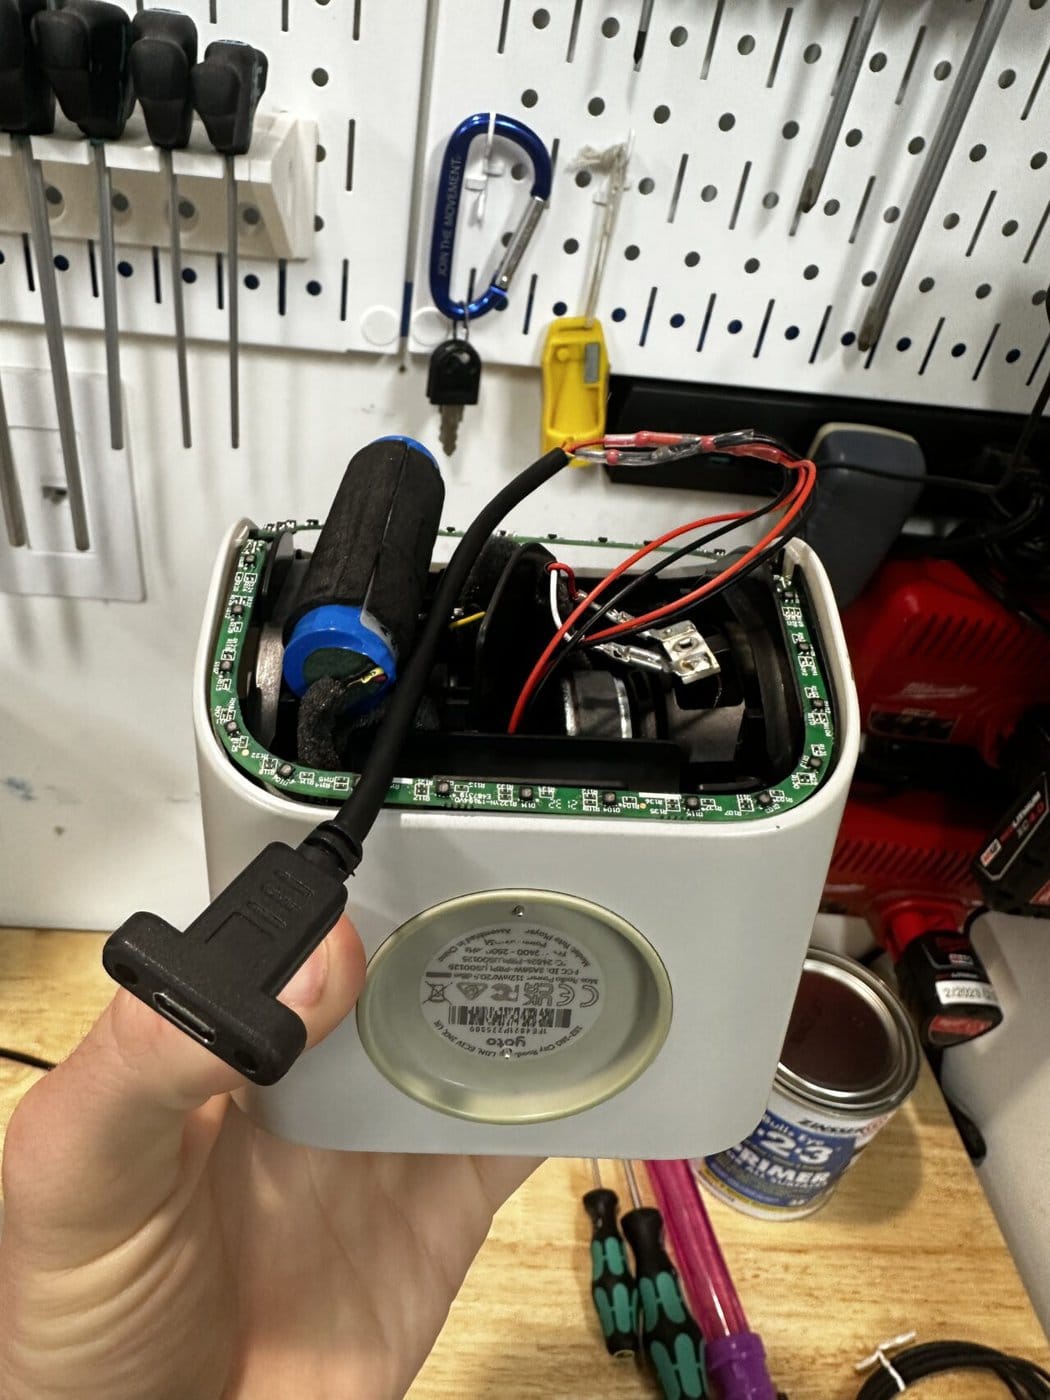
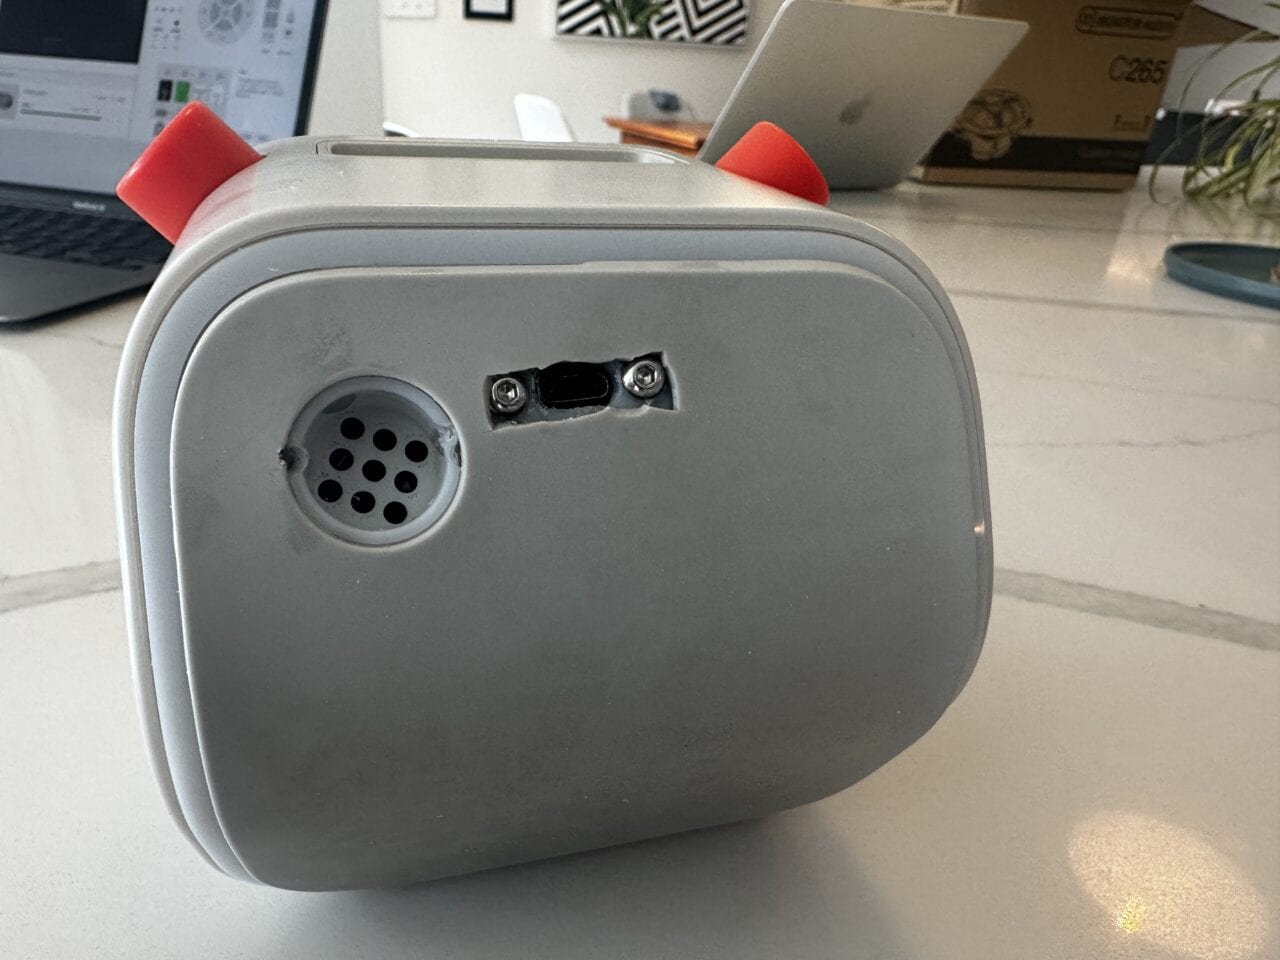
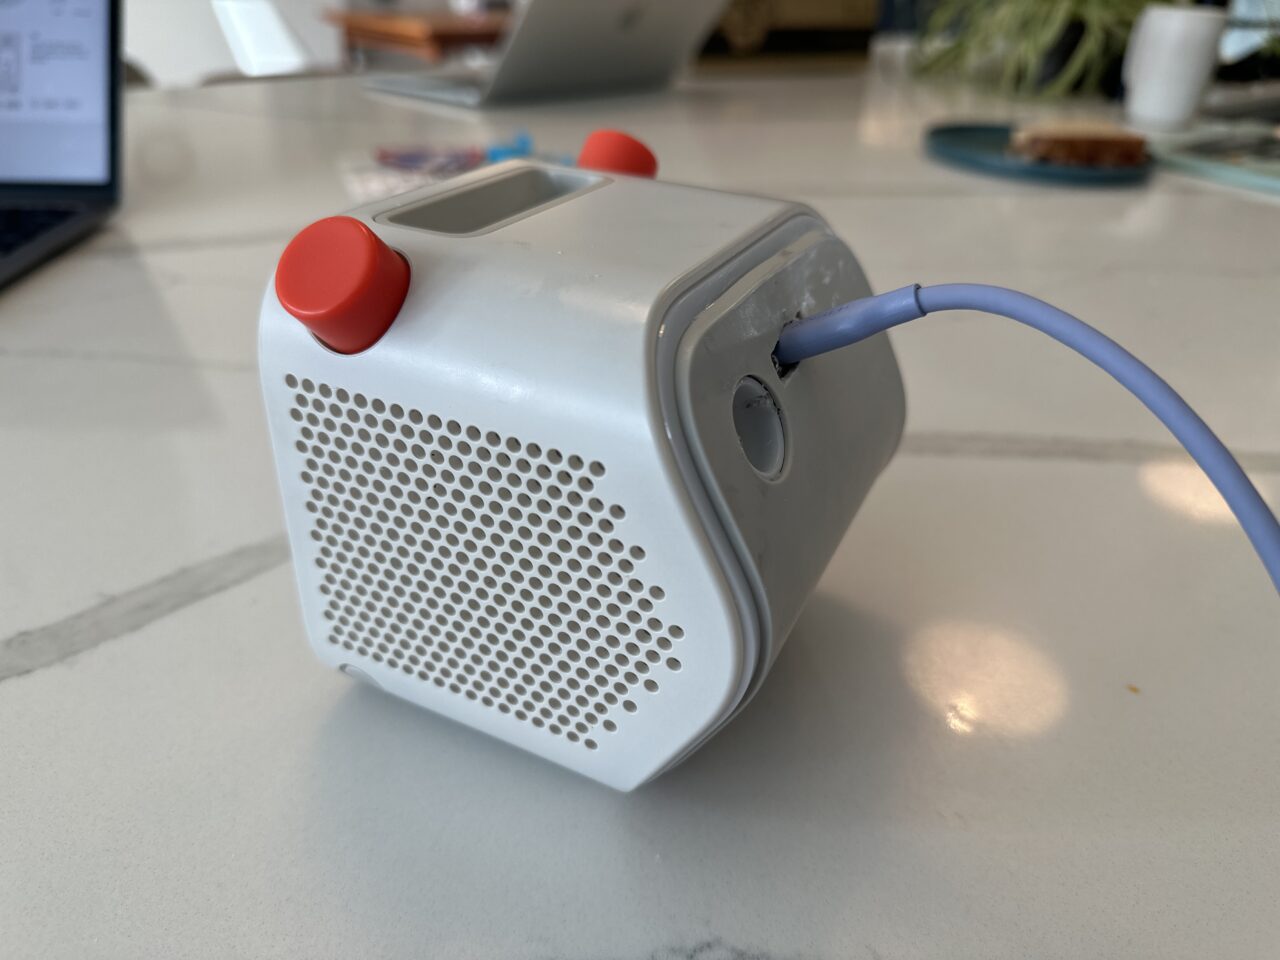
We love our Yoto player, but it uses an easily broken and easily lost proprietary puck charger that’s $25 to replace. No thanks! The mini model uses USB-C and has the same 5V input as the larger model. Our charger broke a few days ago, so I decided to add USB-C charging before a trip. Works great so far!

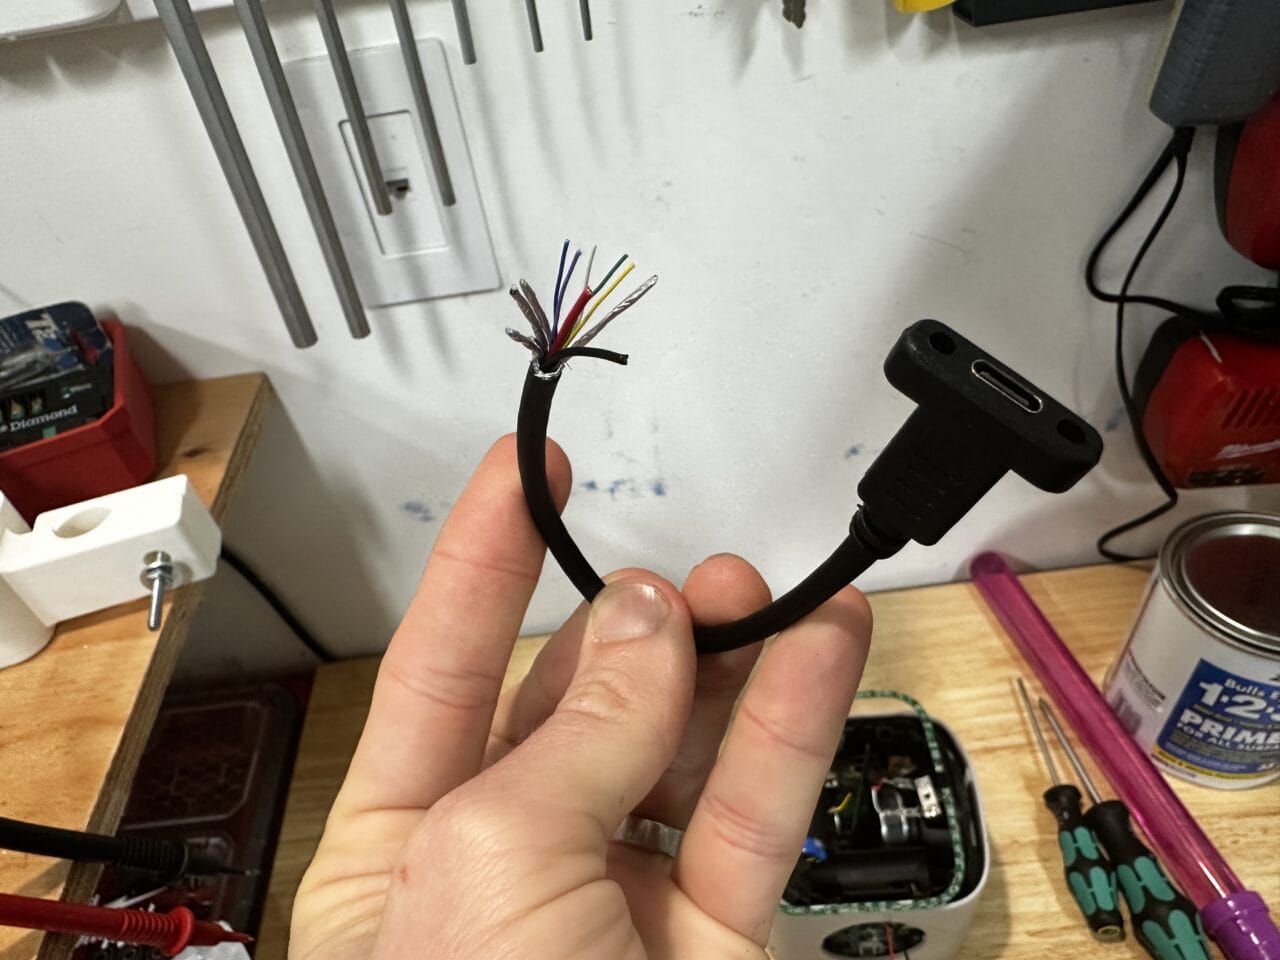
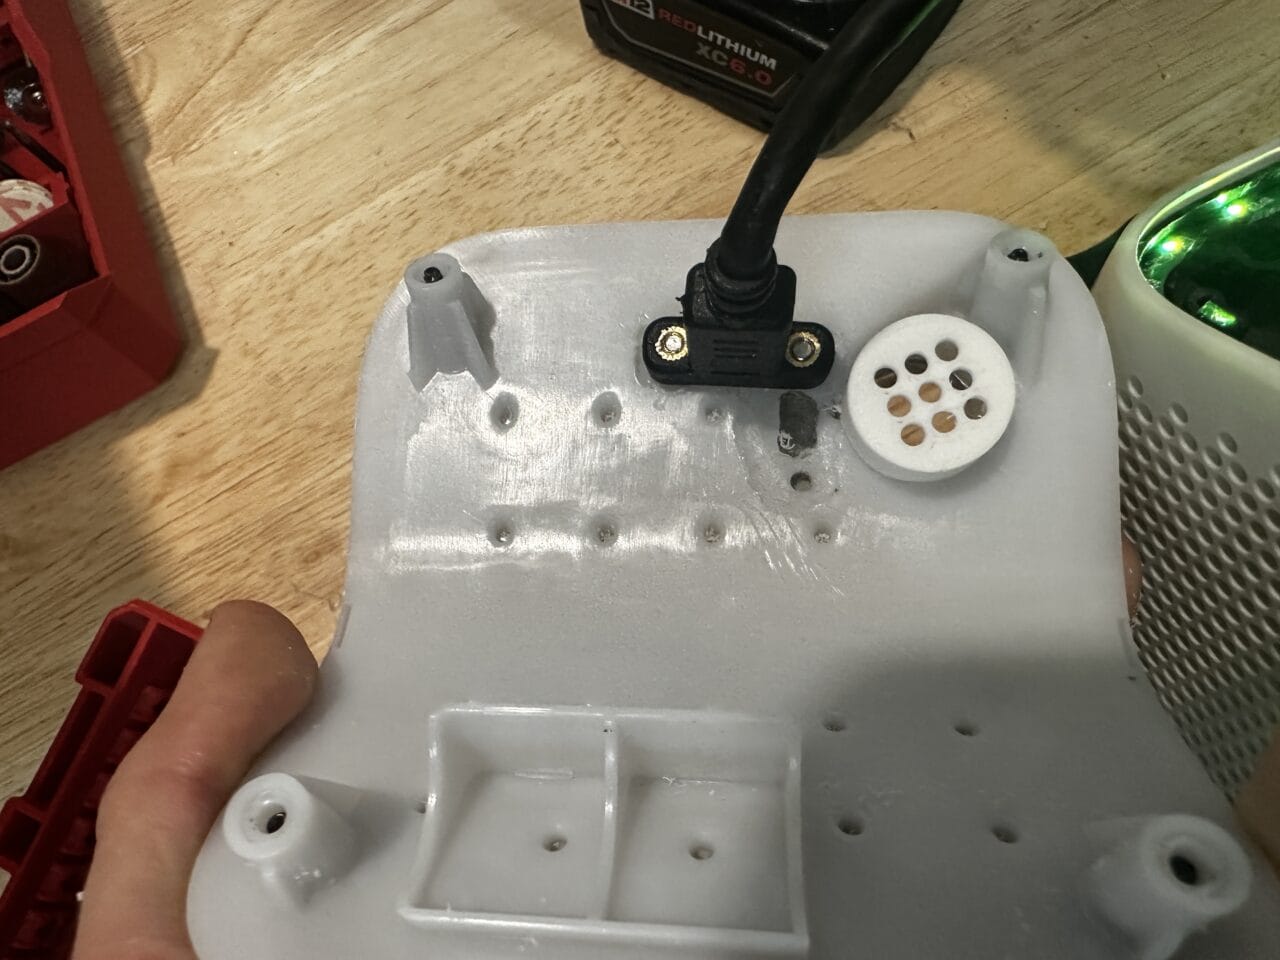
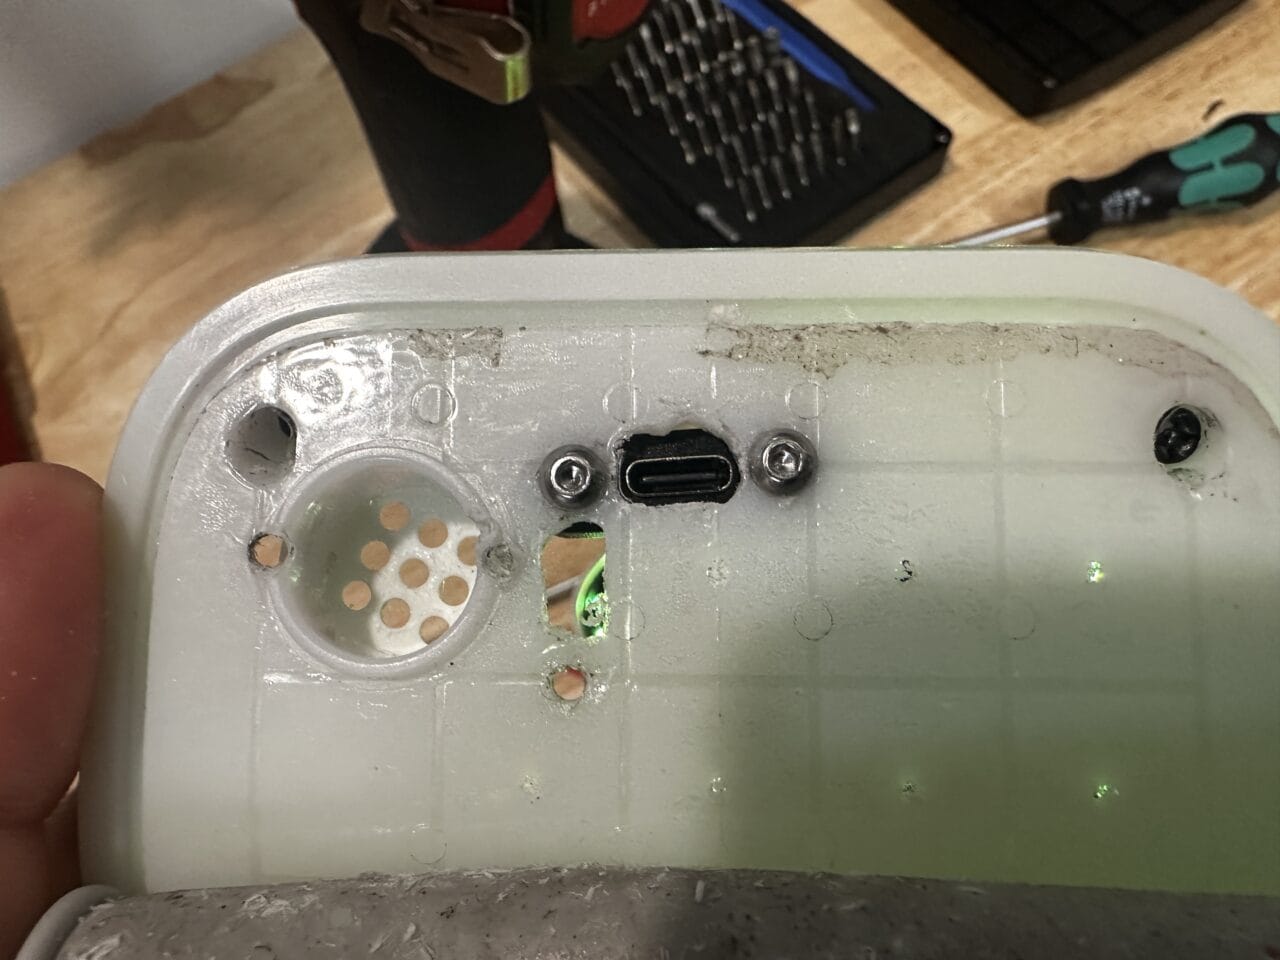
Mount vs cable: I decided to use a mounted female usb-c port, but you could also leave a long female end dangling out the end, or even a long enough male cord which you could plug in directly.

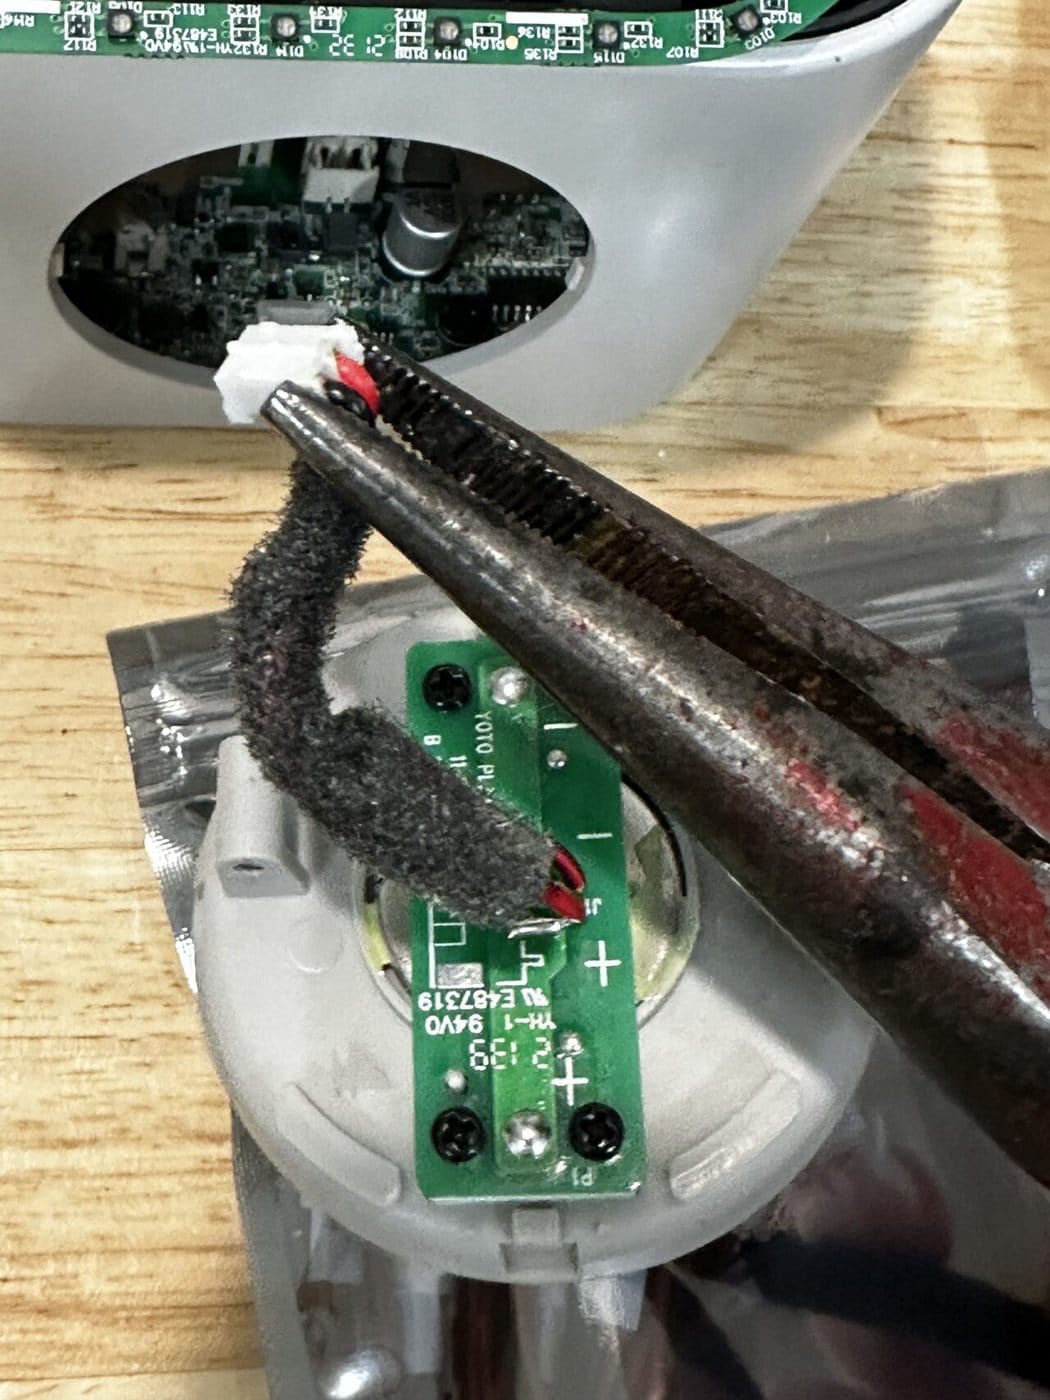
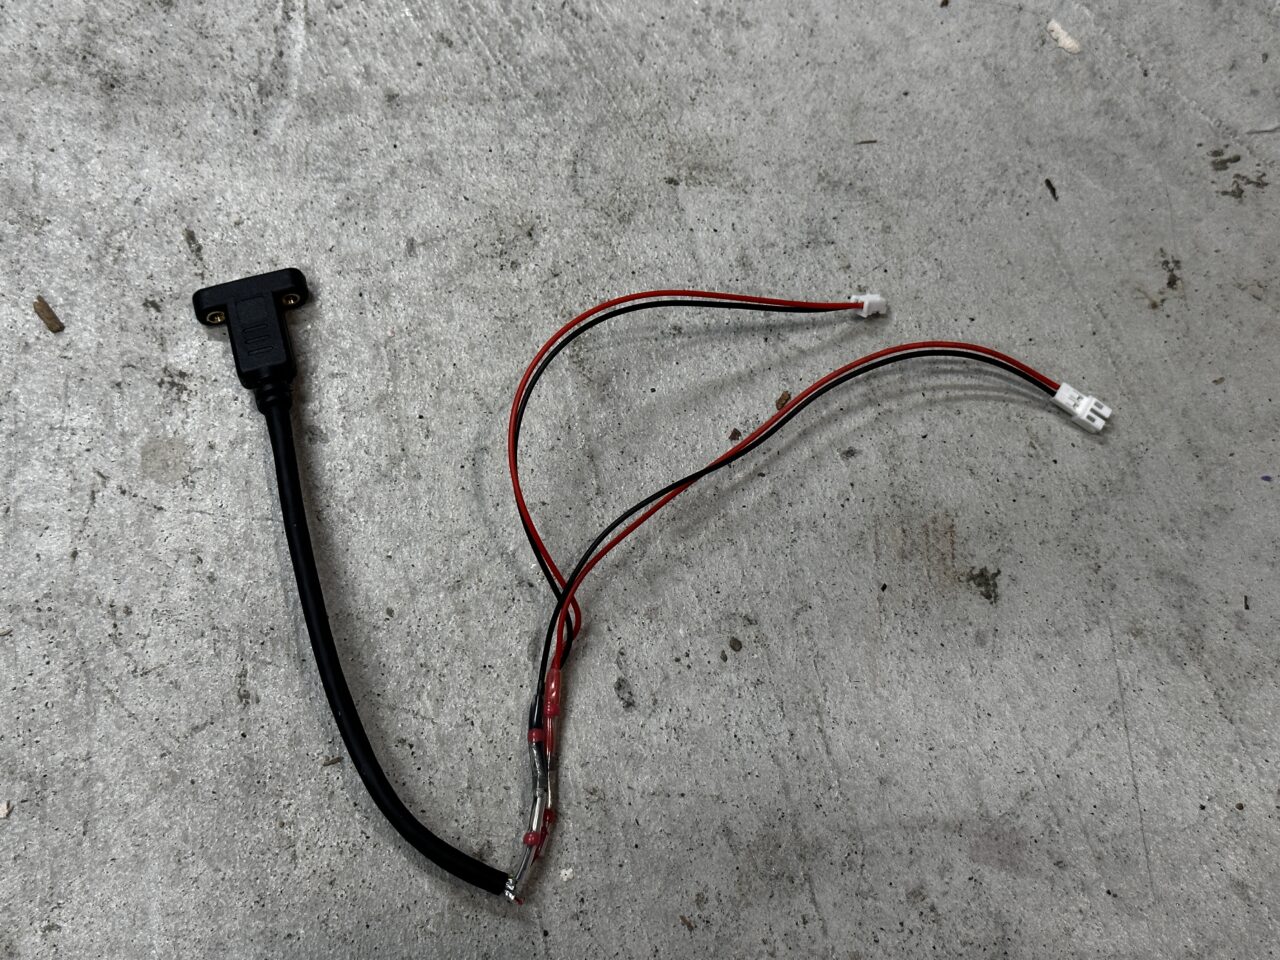
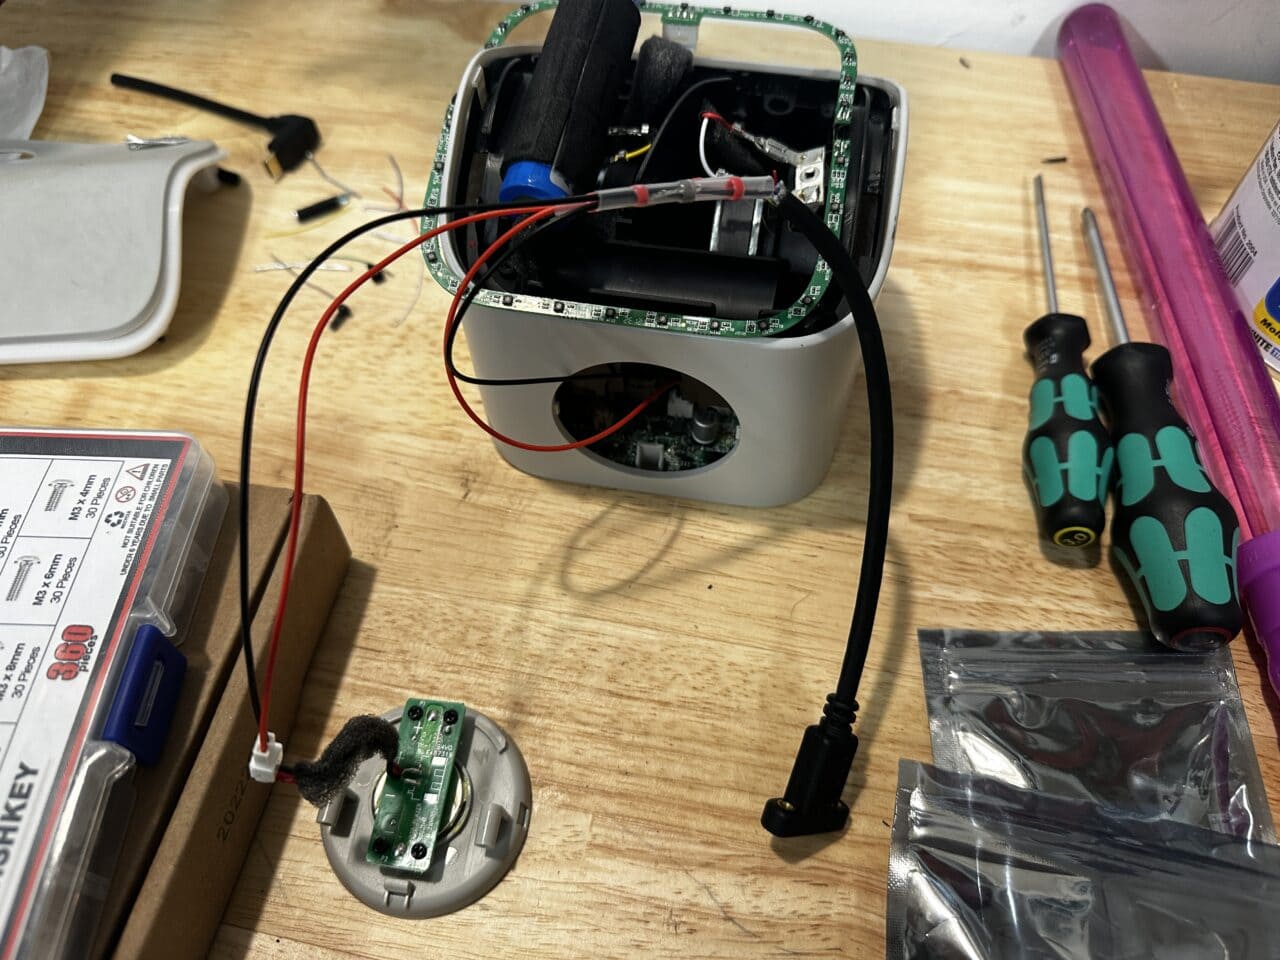
Existing charger: I wanted to leave the puck-charger wired and working – so I connected the USB-C in parallel with the existing charger.

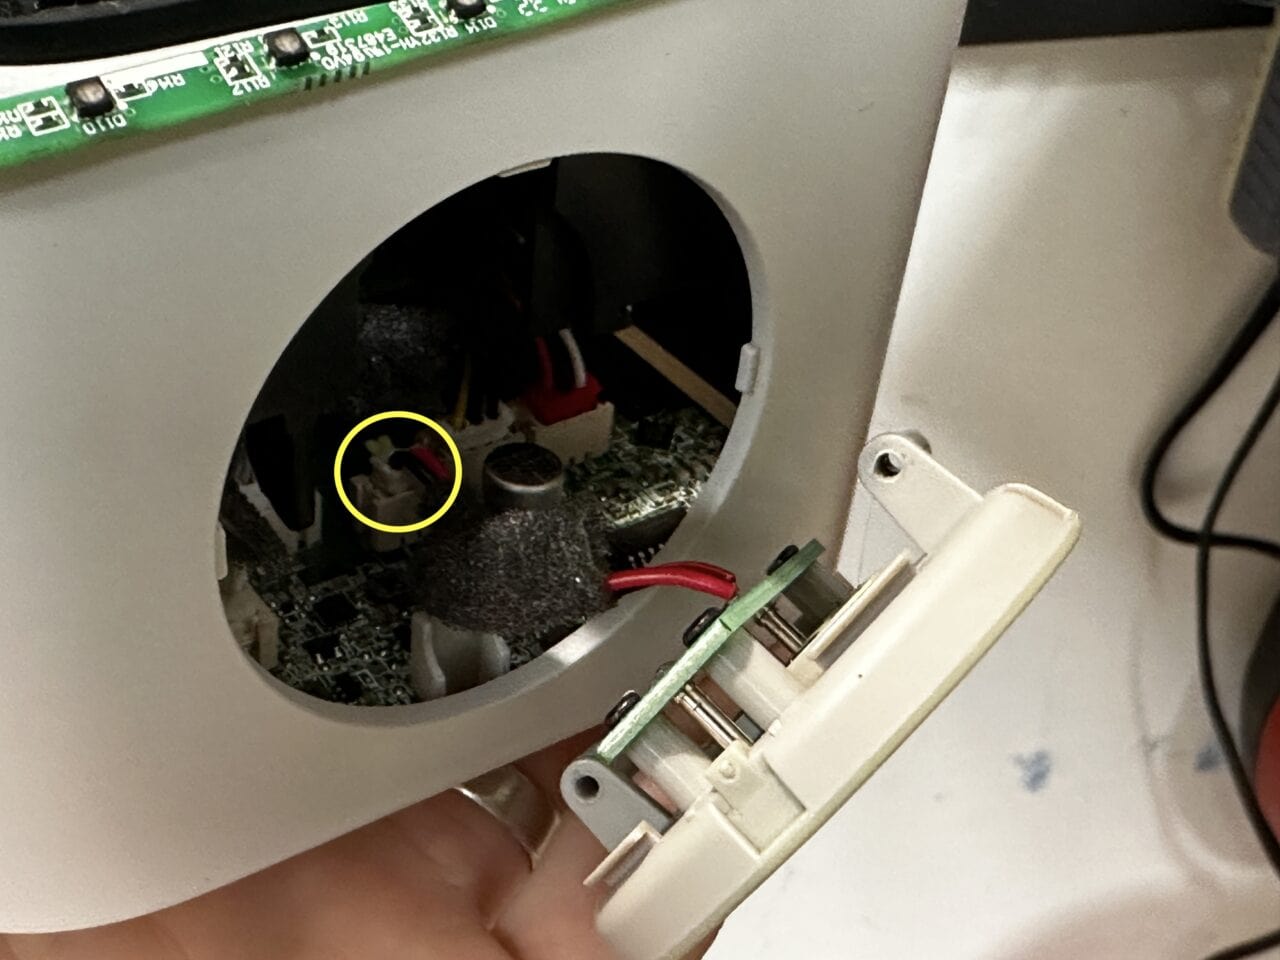
2 pin connectors: I didn’t want to cut any wires inside, so I bought matching male and female connectors to attach to the existing Yoto connectors. Works great and can easily be un-done in the future if needed.

Want to do it? Here’s what you need:

Total cost: $11. Cost if you use a spare USB-C cable and cut it in half: $1

You’ll need these tools:

  • Small phillips screwdriver (PH1)
  • Drill and various sized bits
  • Hex key for M3 screws
  • Wire cutters
  • Heat gun for wire connectors

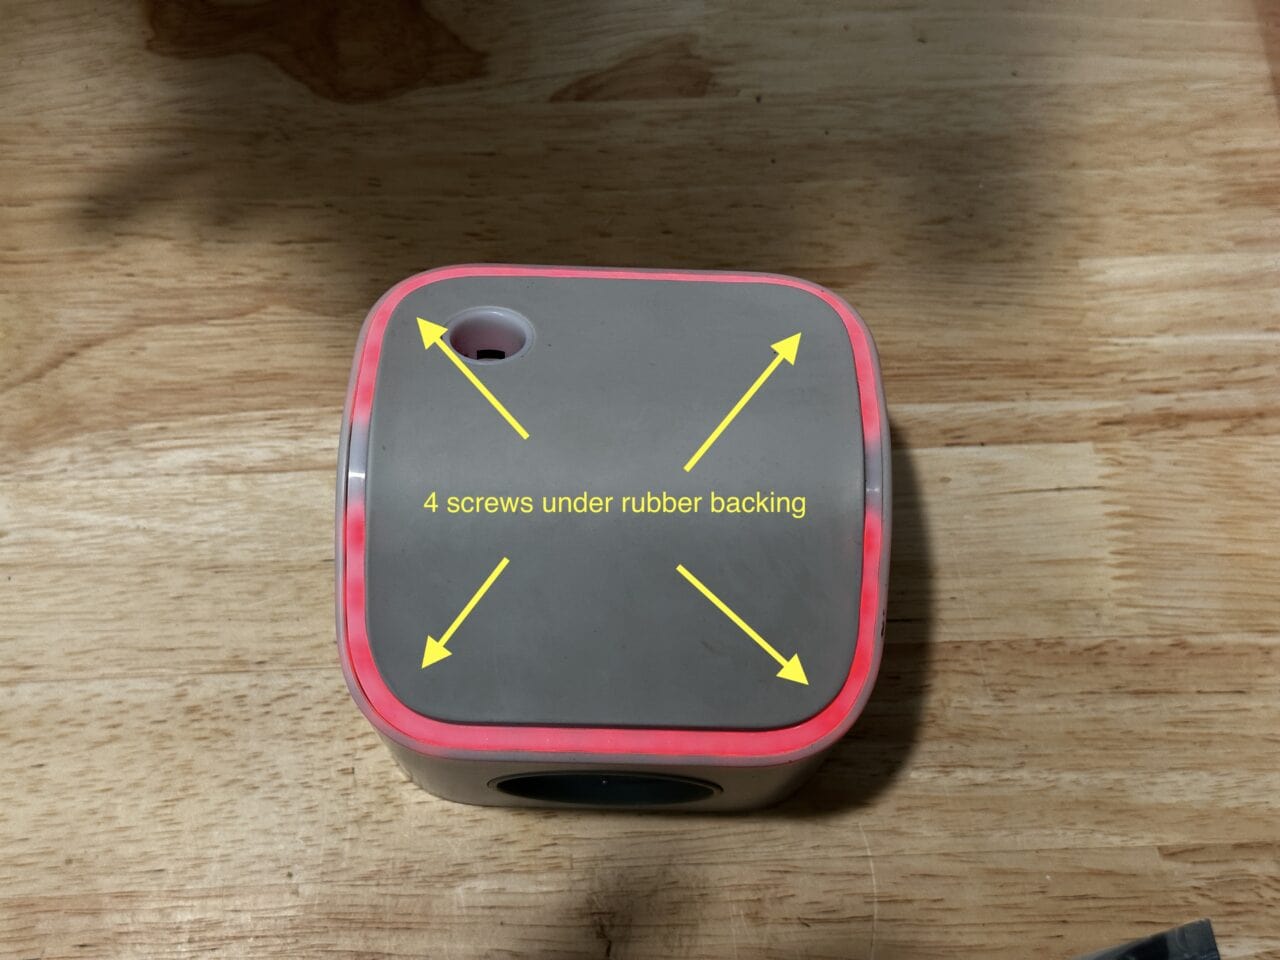
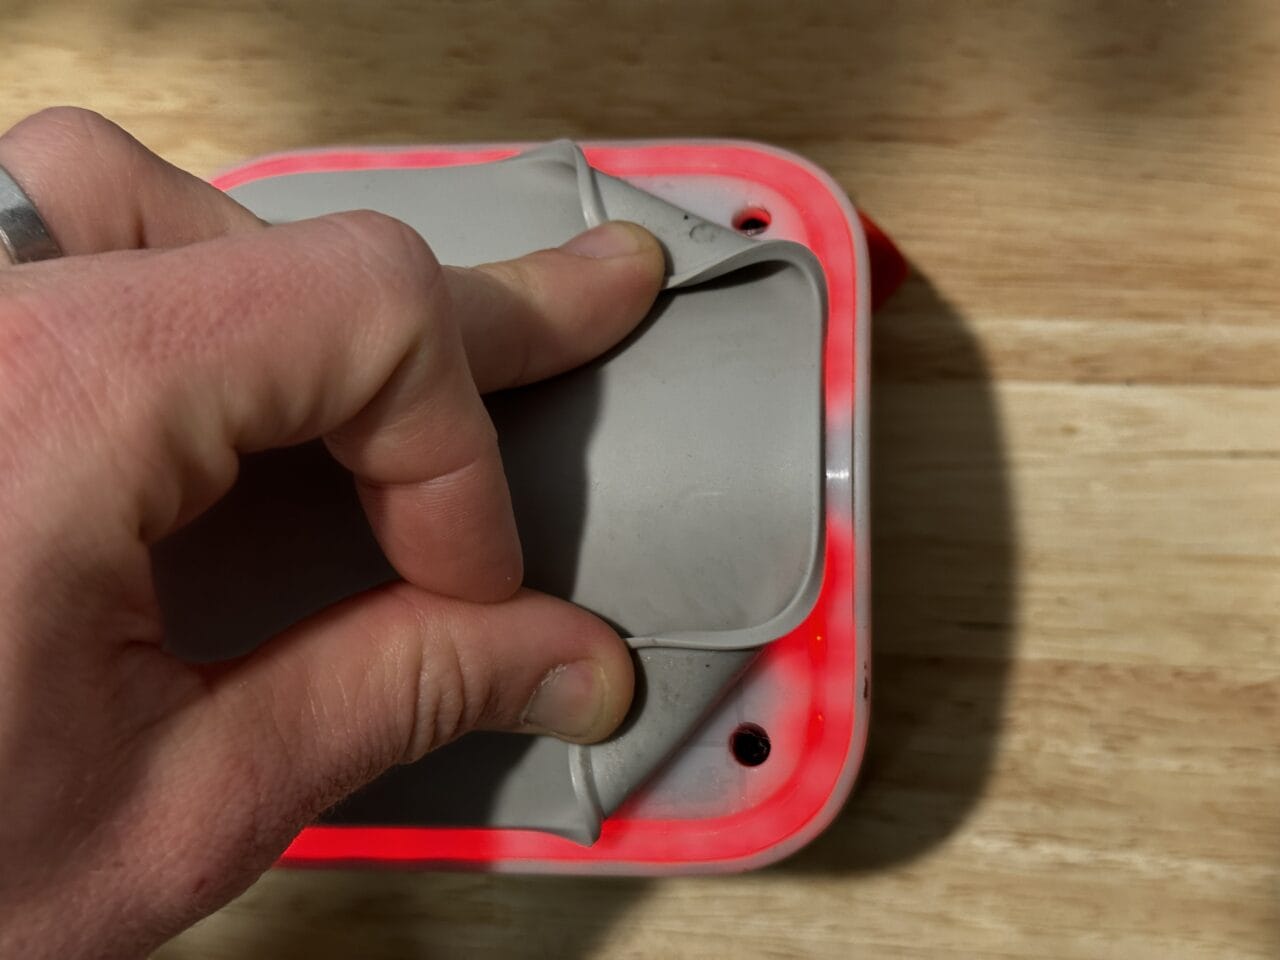
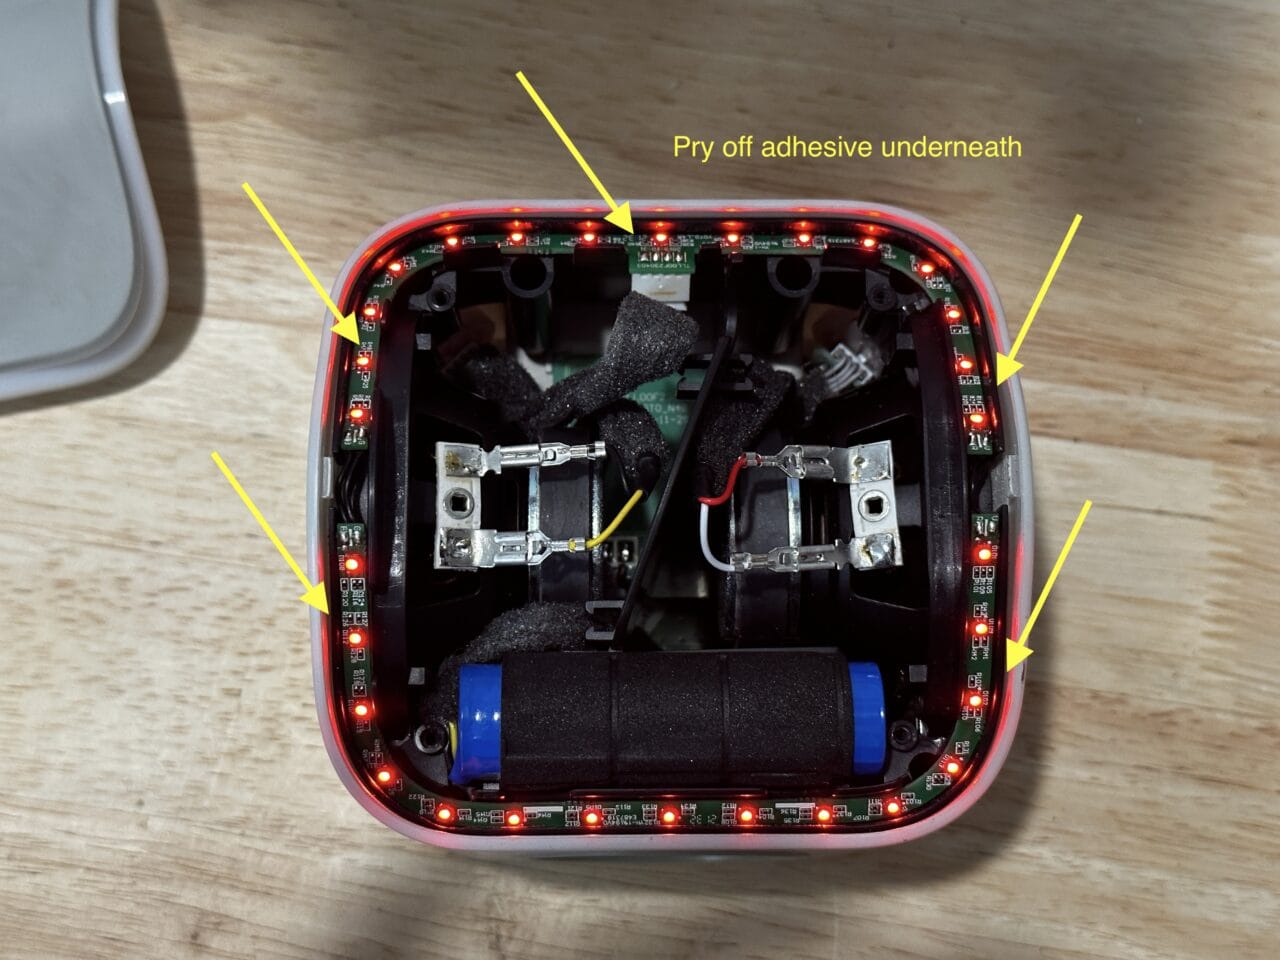
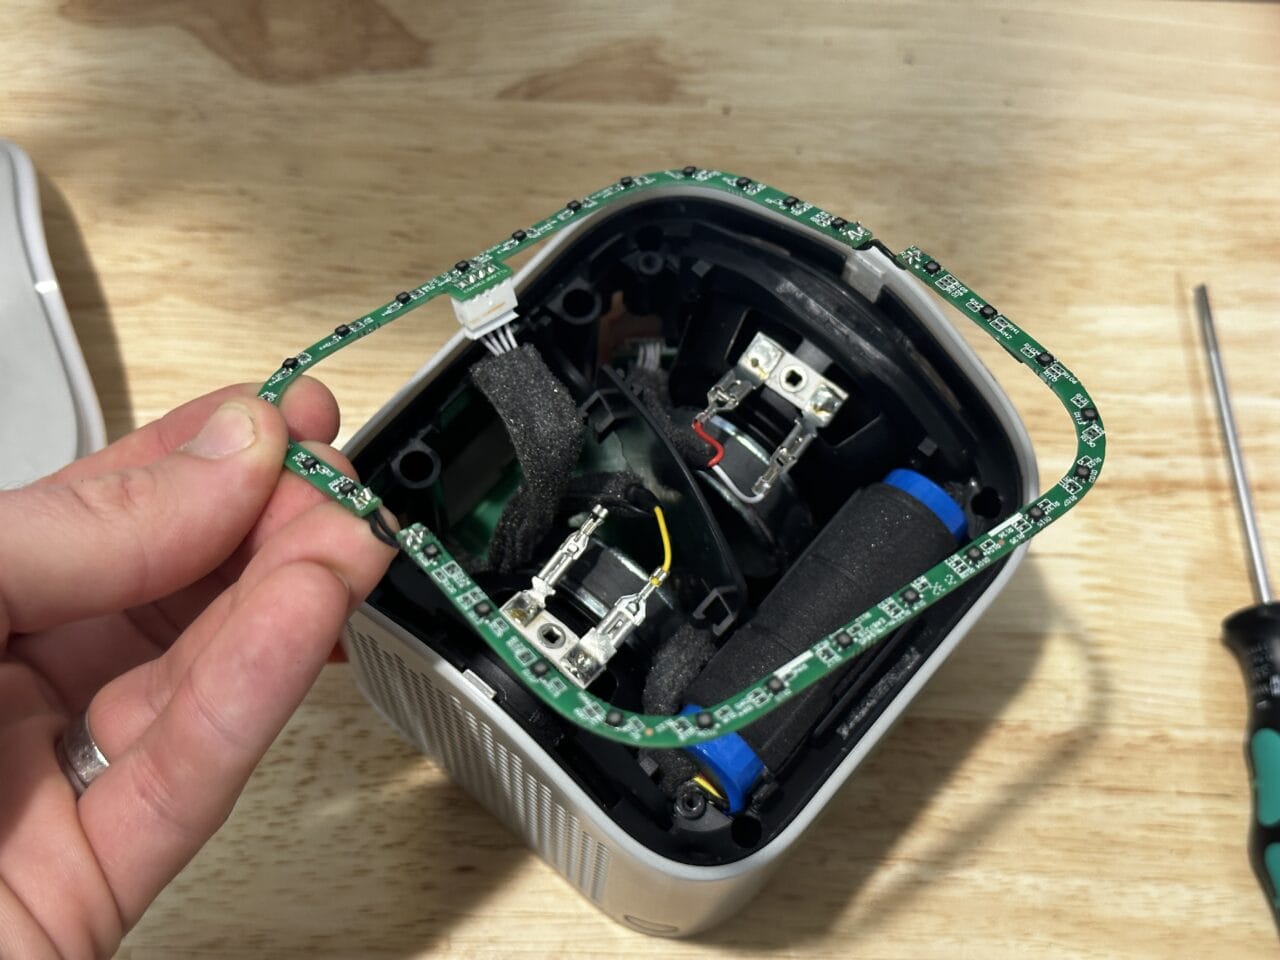
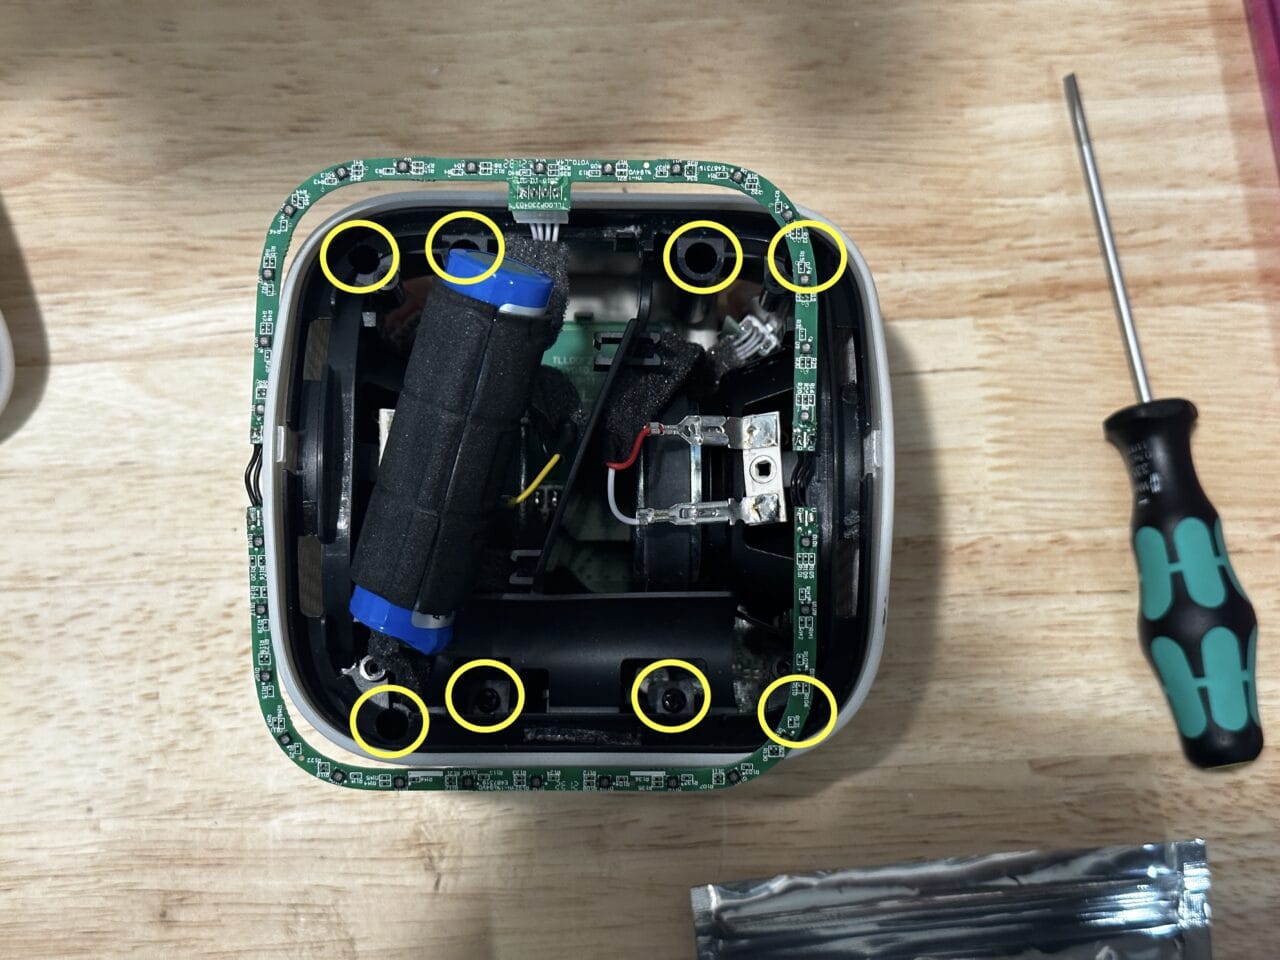
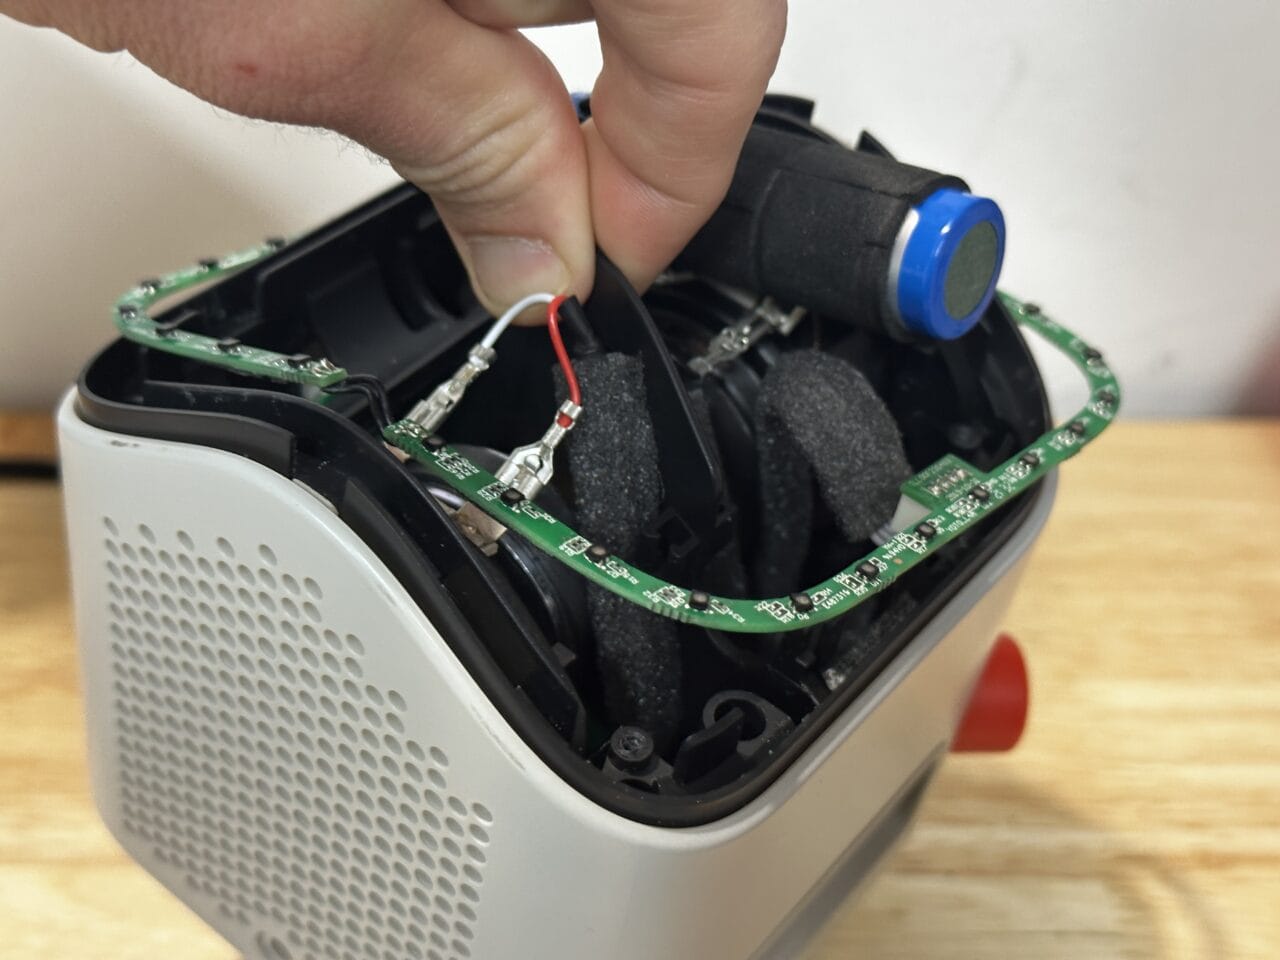
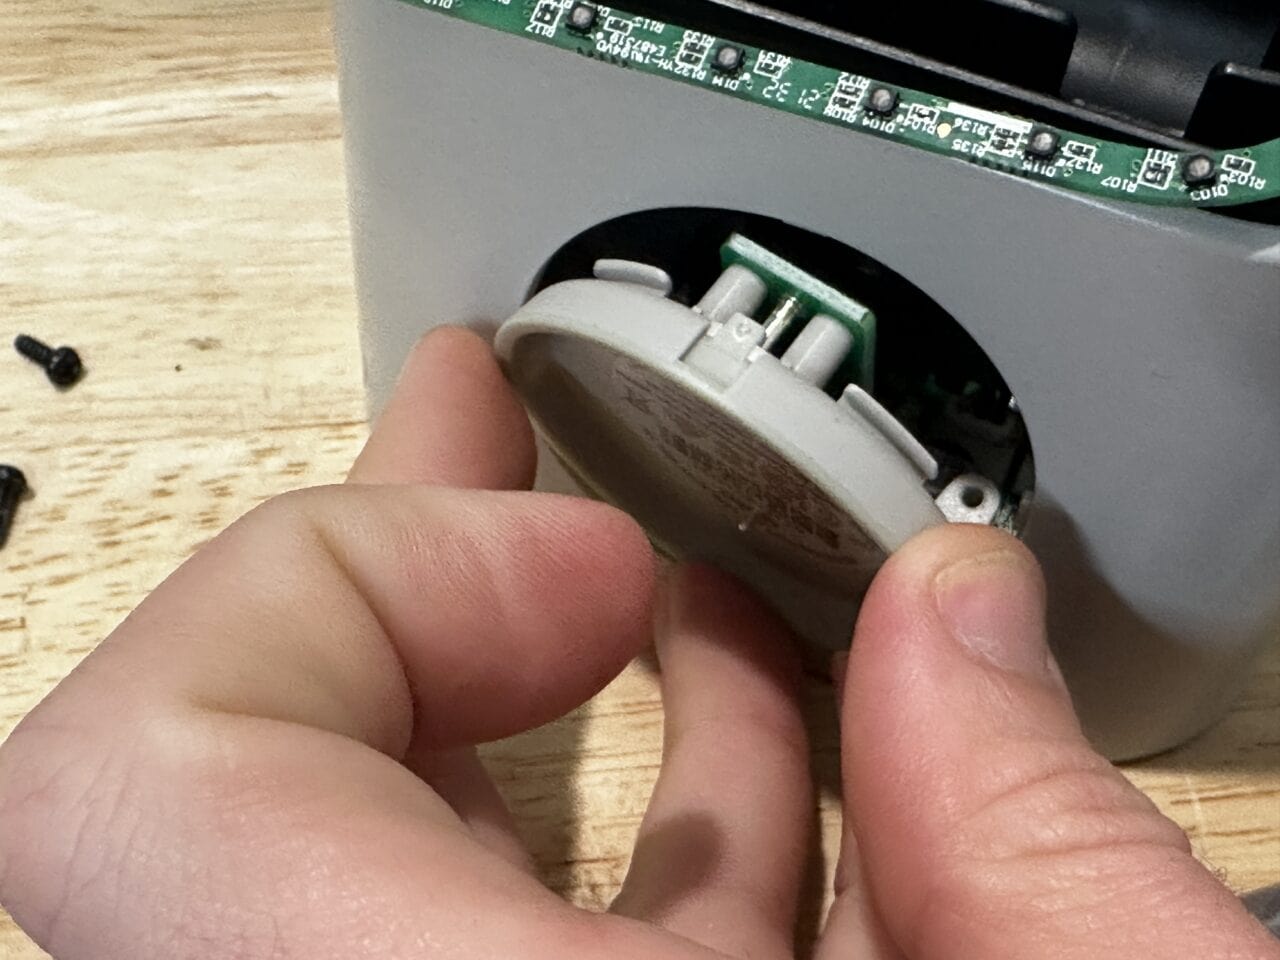
Gallery / Instructions:

Posted

in

by

Tags:

Comments

12 responses to “Adding USB-C to a Yoto Player”

  1. Ross Avatar
    Ross

    Brilliant hack and exactly what I was looking for – someone else who had done what I was planning.
    thanks for sharing!

  2. Nichola Avatar
    Nichola

    Thank you so much for these instructions,

    I used the updated part and the player is now charging. I have one happy little boy and I’m so glad I don’t have to buy a whole new player just because I can’t get hold of a charger!

    The part I used had the wires the wrong way around in the plastic clip. From pictures online most are like this but it was easy enough to switch them around.

  3. Tom Avatar
    Tom

    This is excellent, but for anyone reading this in future – I contacted Yoto (I’m in the UK) after my charging dock broke, and they are now sending me a whole new gen 3 player for free. I guess the charging dock was breaking a lot and they’re having to dish the new ones out in replacement now? Not sure, but I’m happy!

  4. Joe Avatar
    Joe

    thank you so much for posting this! Planning to upgrade the sd card & add a usb charging port at the same time. One thing i’m wondering is do you need to worry about a usb wall wart/power bank sending more than 5v along the USB c line (which could in theory send up to 20v)? Would it be safer to use USB-A since that standard is generally limited to 5v?

    1. maxelman Avatar
      maxelman

      Nope – USB is smart enough and will only draw the correct amount.

  5. Freya Berry Avatar
    Freya Berry

    Does this hack (and the updated part) work on the Yoto Gen 3? Thank you!!

    1. maxelman Avatar
      maxelman

      I’m not sure – I haven’t opened that one up yet.

  6. Matthew Ramirez Avatar
    Matthew Ramirez

    This is great. I will be doing this. Question, can you just pull the charger section out without dissasembling the whole thing? I was thinking of just adding the usb connector on the bottom where the charger is.

    1. maxelman Avatar
      maxelman

      To get the bottom off you’ll need to take the back off first.

  7. Saba Parkar Avatar
    Saba Parkar

    Hello, I am going to try doing this for our 2nd gen Yoto as I can’t get a replacement charger for it. The link for the updated part isn’t working, and there is no descriptor so I can search for one. May I please ask what to look for?

Leave a Reply

Your email address will not be published. Required fields are marked *