One of my few concerns with the Peak Design Roller Pro is traveling internationally. While the bag meets many carry-on requirements, some airlines are much stricter, and every millimeter counts. If I ever need to squeeze under a baggage sizer, removing the wheels could make the difference.
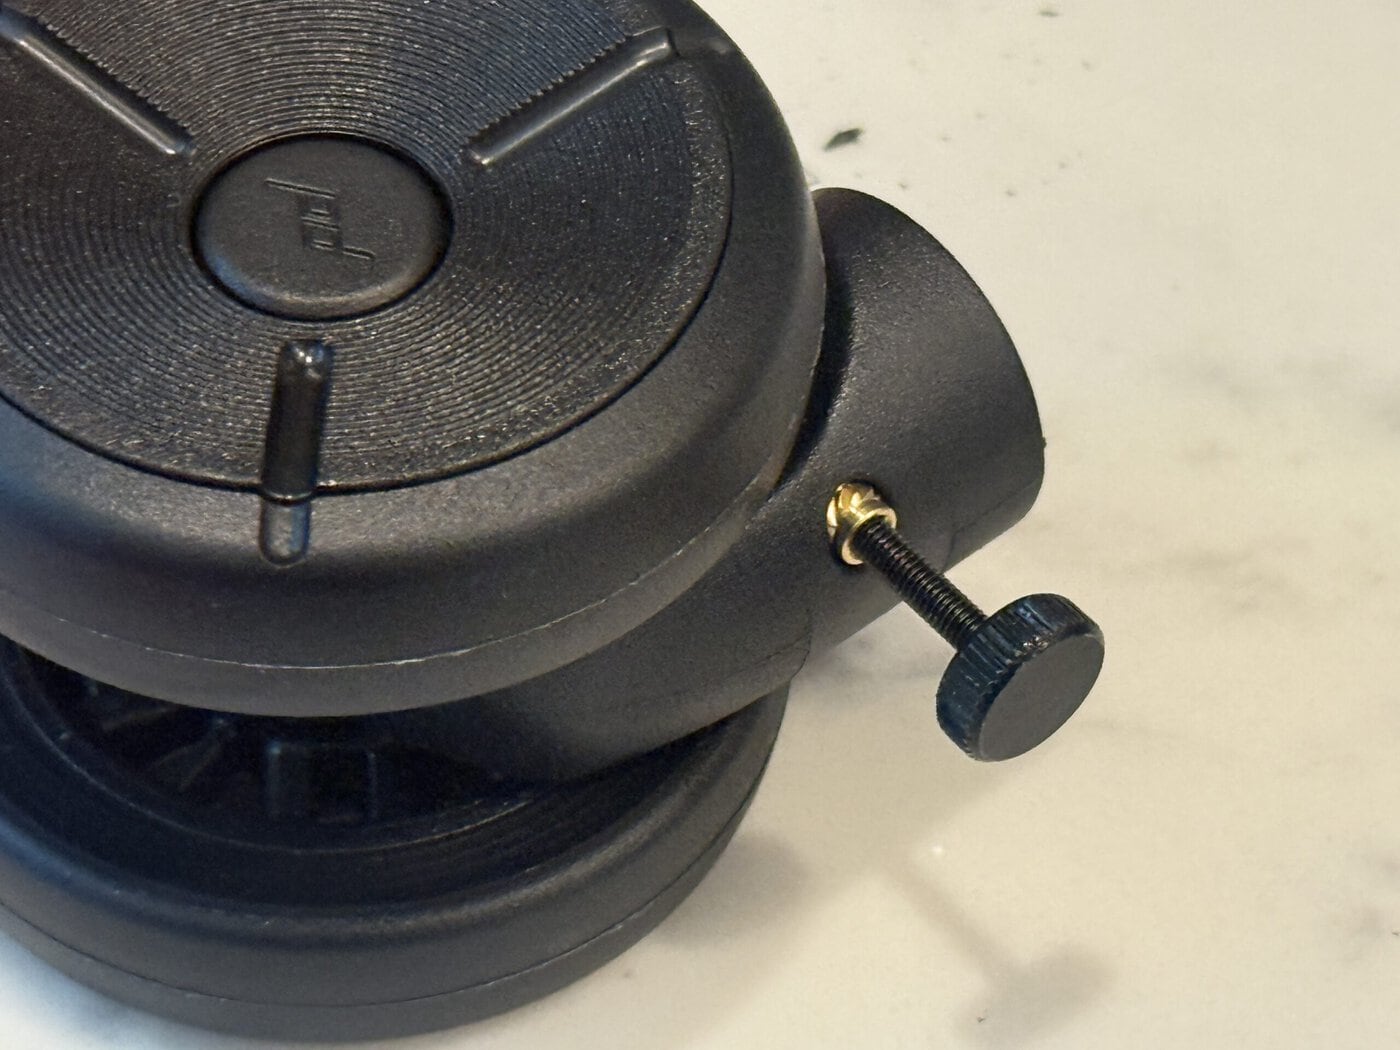
Rather than worrying about the tiny Phillips screws from the original design, I swapped them out for hand-tightened M3 thumb screws. The wheels are still attached just as securely during normal use, but now they can be removed in under a minute without digging out a tiny screwdriver. If an airline asks you to fit the bag into a baggage sizer or you’re trying to meet a particularly strict carry-on limit, popping the wheels off is quick and painless.
Parts Required
- M3 x 16mm knurled thumb screws
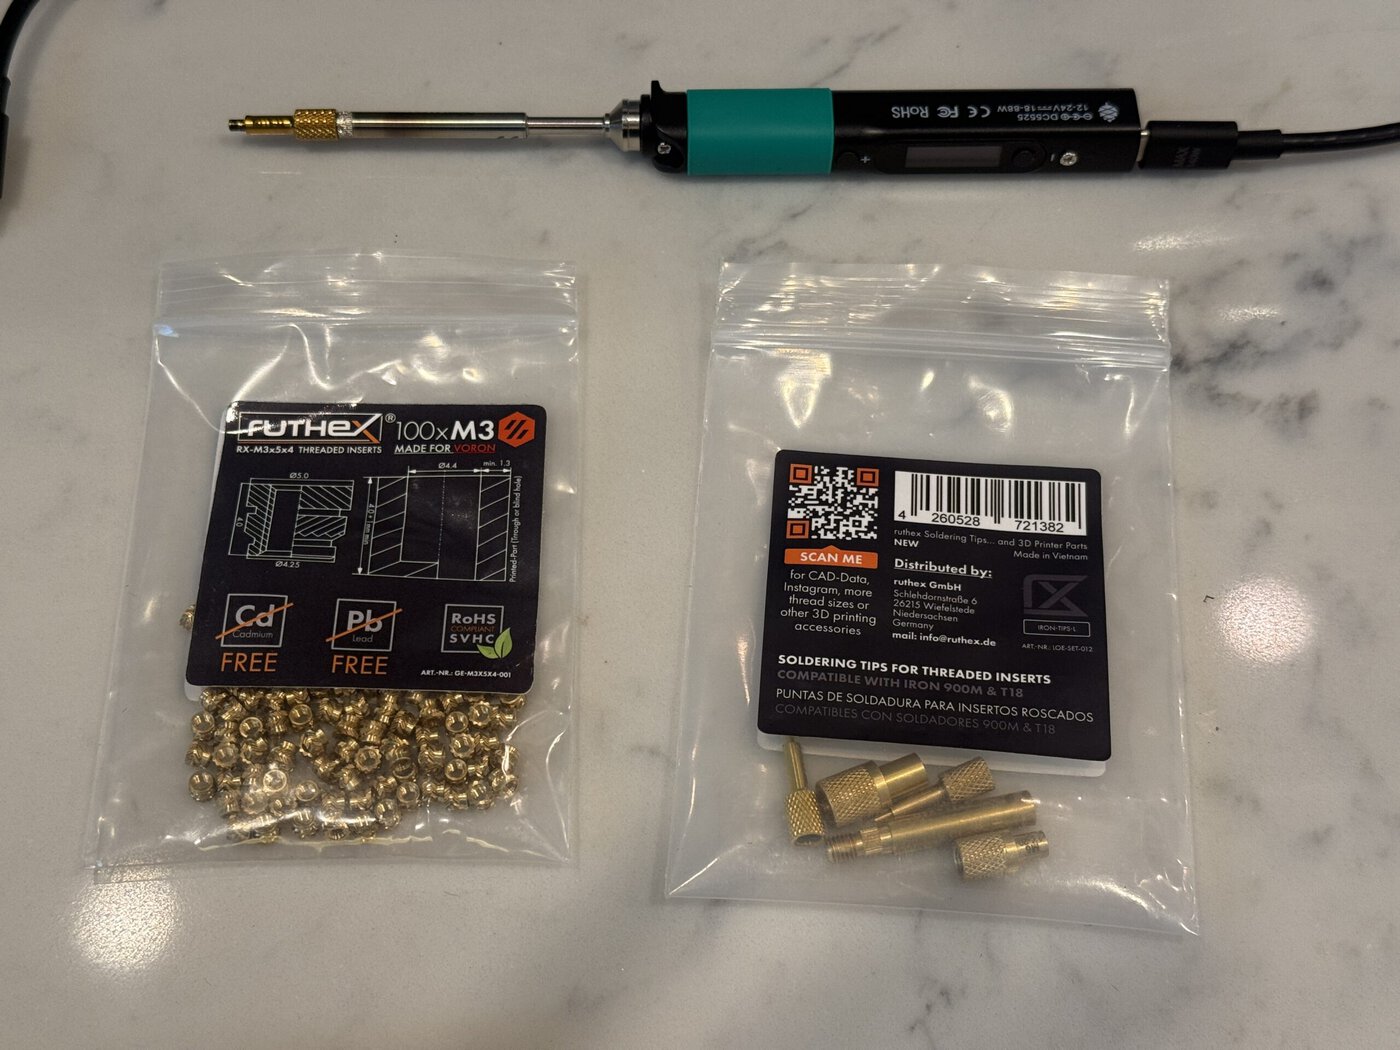
- M3 brass heat-set inserts
- M3 heat insert soldering tip
- Compatible soldering iron
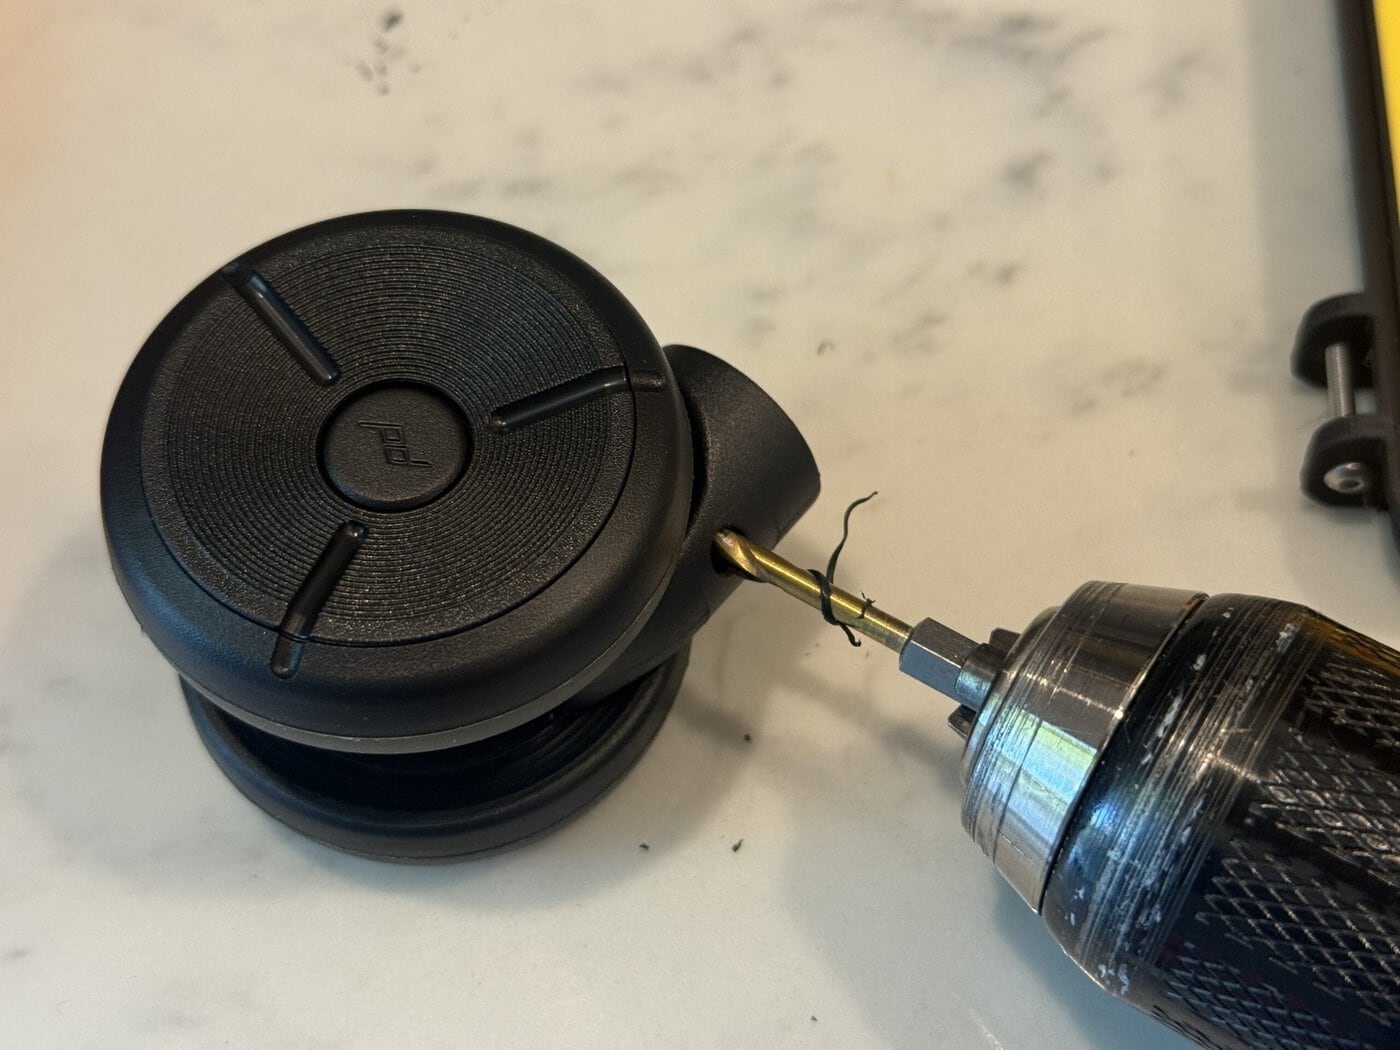
- Drill and 1/8″ drill bit
- Small hand file set
- Small PH0 Phillips screwdriver
- Optional: Roller Pro Wheel Replacements
Installing the Heat Inserts
You can either remove your existing wheels or buy new ones from Peak Design if you want to keep the originals as a backup.
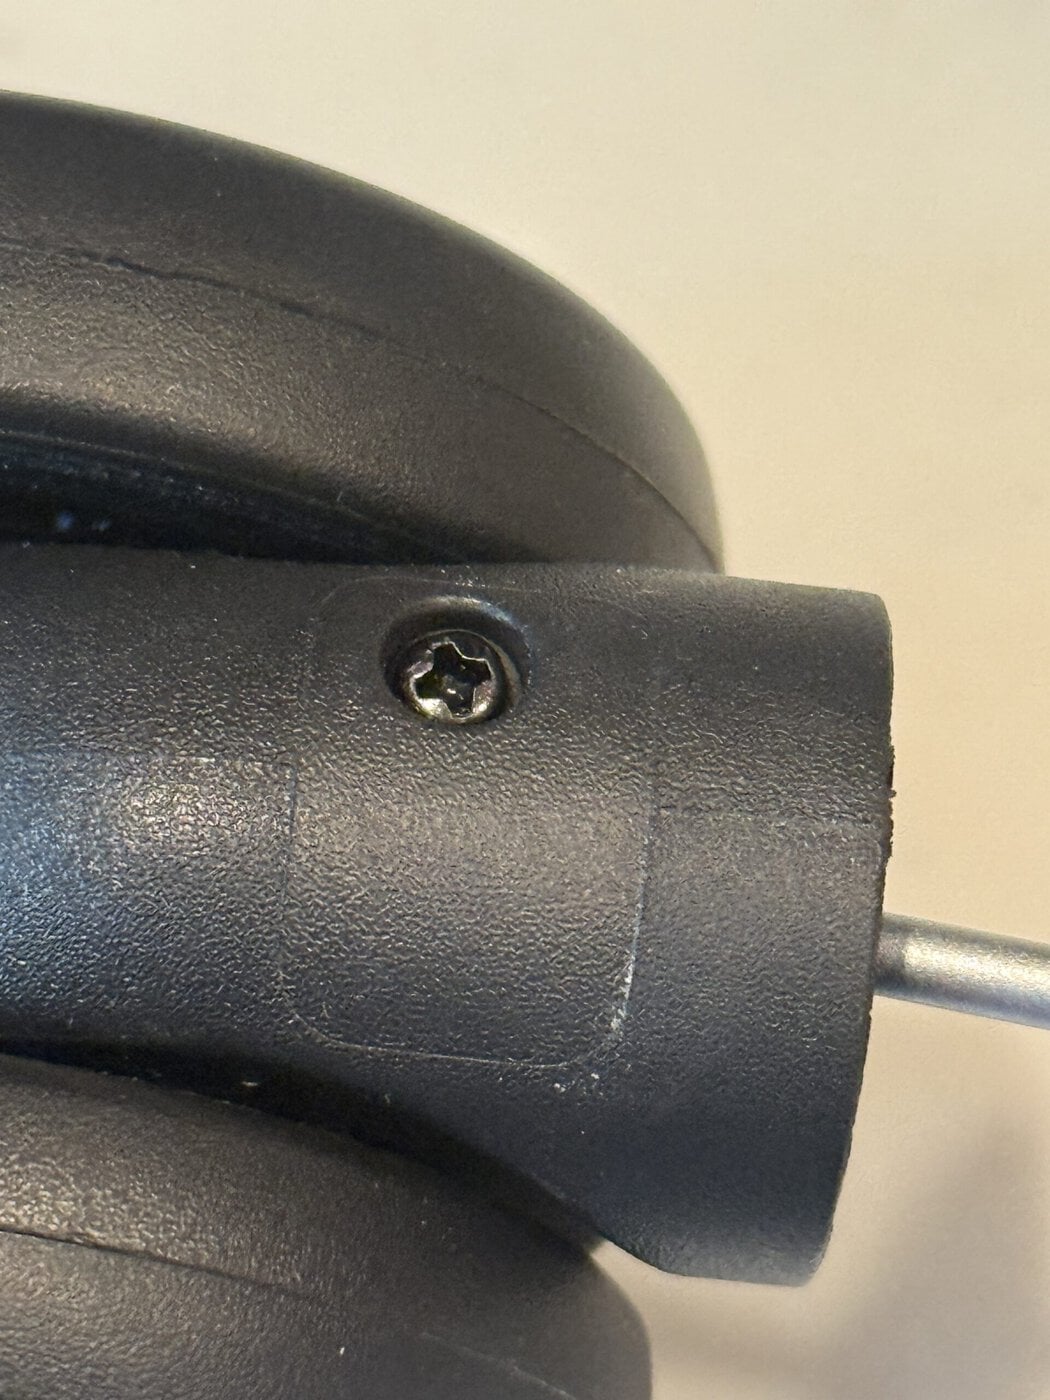
- Remove the wheels from the bag by unscrewing the small screw on each wheel with a small Phillips screwdriver.
- Use a 1/8″ drill bit to carefully expand each hole. Make sure to go through, into the center of the wheel assembly. You’re expanding the hole from 2.5mm to 3mm.
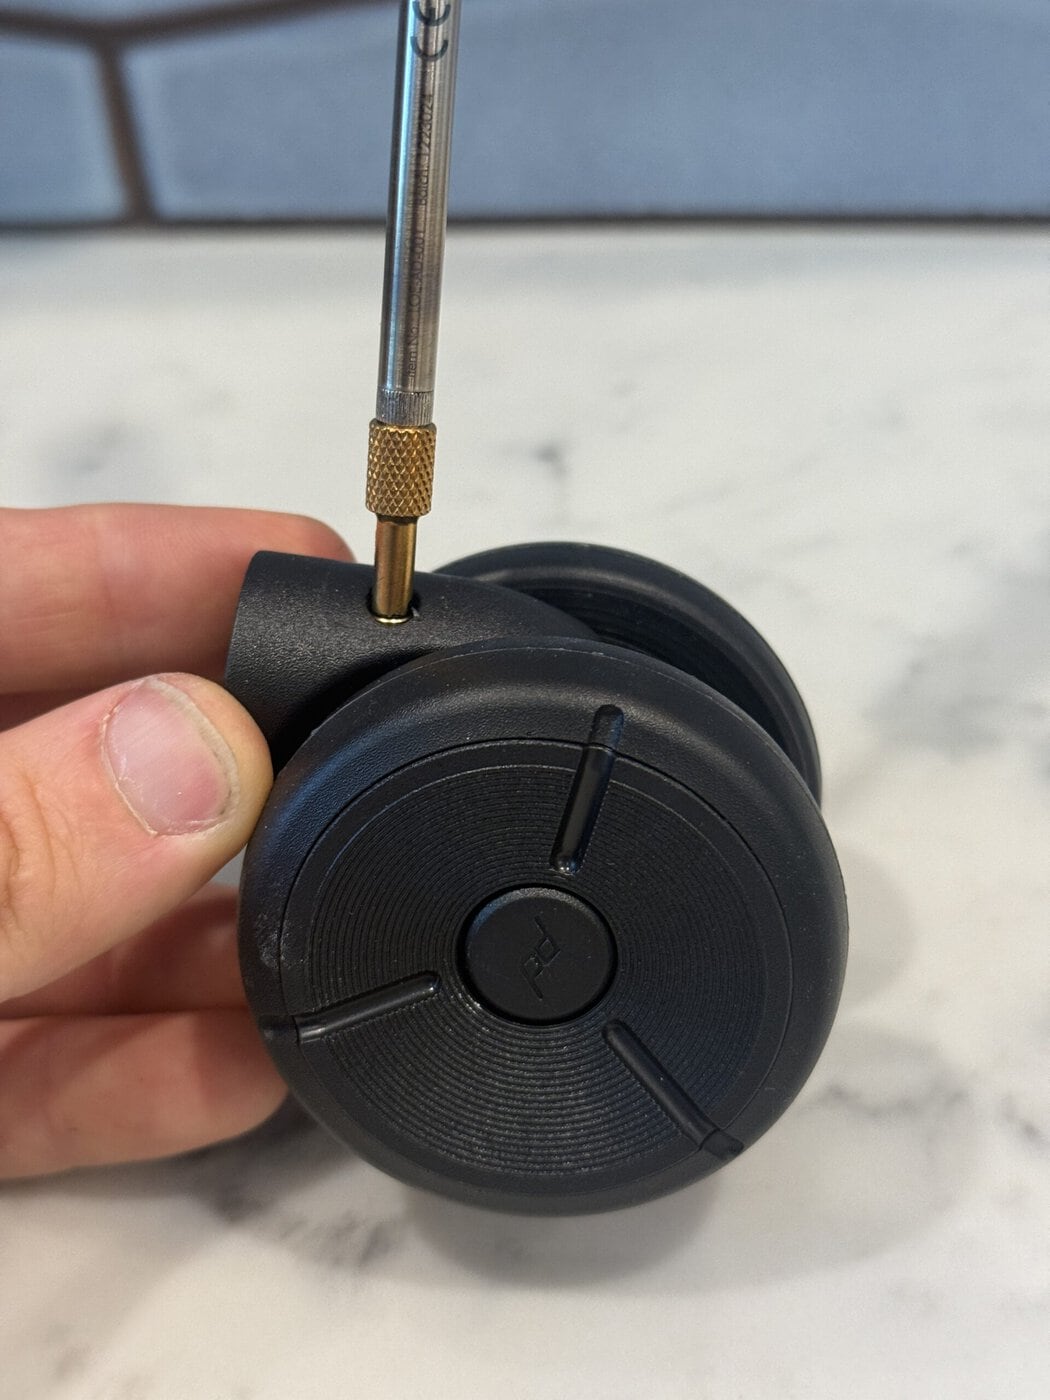
- Heat your soldering iron with the M3 insert tip installed.
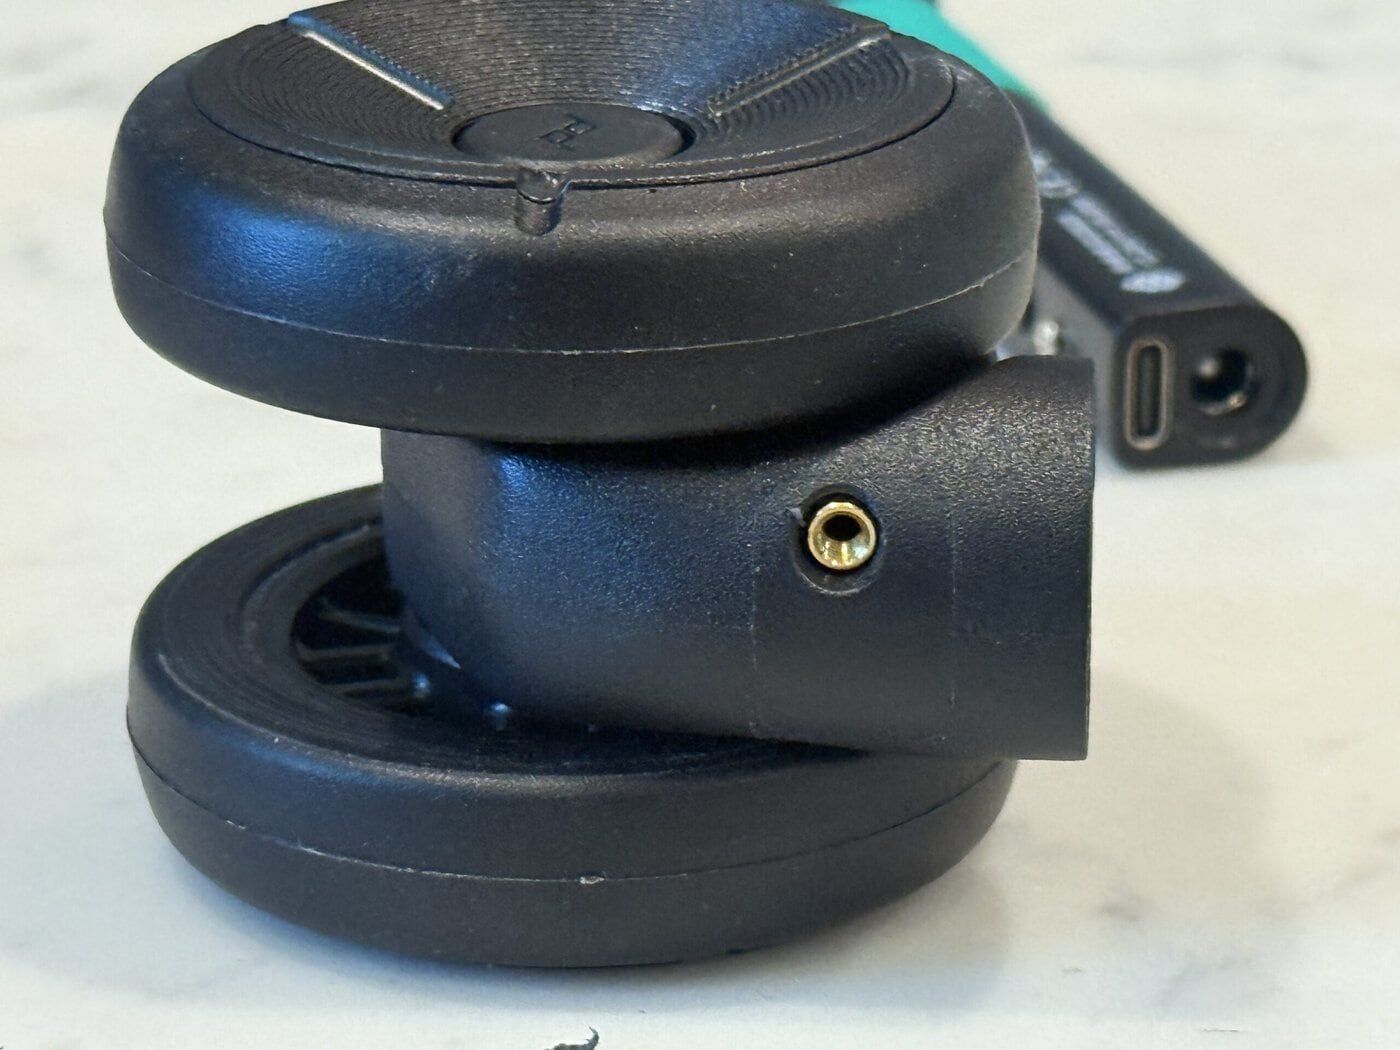
- Slowly press each heat-set insert into the plastic until it sits flush. Let everything cool completely before installing the screws.
Take your time during this step—the inserts provide the metal threads that allow the wheels to be removed repeatedly without wearing out the printed plastic.
Final Assembly
Install the wheels using the M3 thumb screws instead of standard socket-head screws.
The knurled heads provide plenty of grip, so no hex key is required. If you need to remove the wheels before checking your bag or fitting it into an airline baggage sizer, simply loosen the four thumb screws, remove the wheels, and pack them inside the suitcase.
Reinstallation only takes a minute once you’ve reached your destination.
Why I Like This Approach
- No tools required for normal removal.
- Much less wear on the printed parts thanks to brass inserts.
- Easy to replace or service wheels in the future.
- Provides a little extra flexibility when dealing with strict international carry-on limits.
Hopefully you’ll never need to remove the wheels—but if you do, this modification makes it a quick and painless process.
Bonus tip – if you want to replace the Phillips screws and use hex instead, these are a perfect match: uxcell 2.6mm x 12mm Threaded Carbon Steel Hex Head Self Tapping Screws 100pcs
Leave a Reply